Bountiful Landscapes & ConsultingTransforming People & Places to Create Vibrant Health & Beautiful Outdoor Spaces
|


|
I love these early spring blooming shrubs! They make me feel like summer is actually coming!!! I am going to talk about pruning a Rhododendron. Mostly because so many people have them, and they are also very forgiving with pruning. Lilacs and Forsythia can also be pruned semi-aggressively, as needed.
 New growth can appear quickly after blooms have died. NEW GROWTH is where the blooms will appear next year! That's why you want to trim right after bloom so that the plant has time to grow enough before the fall! Make sure you prune the plant back far enough so that it maintains an appropriate (for you) size for a couple of years. I prune all my flowering shrubs every other year - alternately - so I choose one shrub per year to reduce. Super Simple! However, if you want help, you know where to get it :) Contact Me!  Pruning doesn't have to be fancy, it just has to be done! Ideally, you would take out all the dead branches from the inside out. This increases airflow and plant health. If you're not sure about timing and you want to practice a little, just prune a few branches then wait a week. Keep doing this until it looks like you want it. The next time it will be easier!!
0 Comments
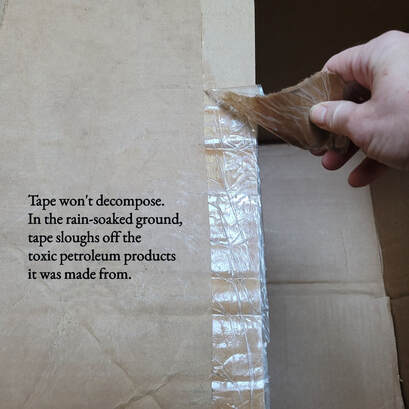
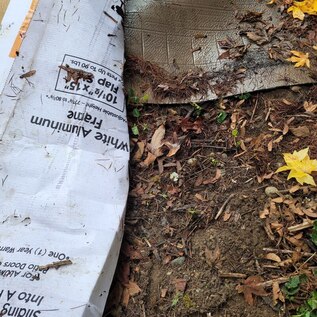
If I deem these aspects undesirable, I can use Arborist chips, AKA wood chips, to manage them. For sure there's opposing opinions about using cardboard underneath, but let's not discuss that now. We'll talk just about the benefits of using the chips. The bottom line is that covering the ground stops photosynthesis, and that stops plants from growing, whether you call them weeds or not.
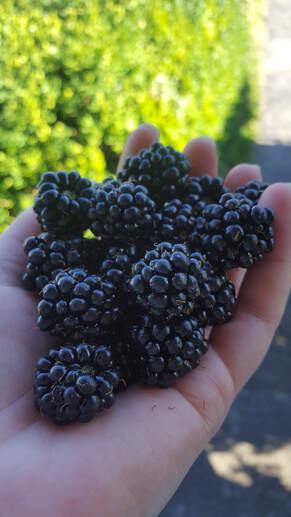
Over a couple of years, as the chips decomposed, I scattered native flower seeds that I got from others. I just wanted to see what the landscape would grow. Before this, it grew almost nothing in the crappy clay soil. I noticed that some things grew, and others didn't. But I got a lot of information about the environment, and more things grew as I learned. Here's a picture of my current spring yard. It grows everything now!!!  This is how to get the most beautiful and timely Arborist Chips for your next project! https://getchipdrop.com/ Here's how I write my request – modify your request as needed. Make sure to include a picture of the area. It's best to order them right after a fall or spring storm, that way you get "windfall branches." Otherwise, summer drops tend to have more invasives and diseased tree debris. "Please dump chips in driveway on top of tarp. NOT up against garage doors & NOT into street. Prefer Hardwoods, but some evergreen is OK - CLEAN ** NO INVASIVES PLEASE** and very little pine needles if possible. Thank YOU!!!"
Happy Mulching!
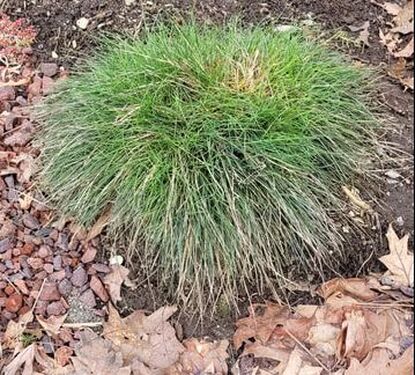
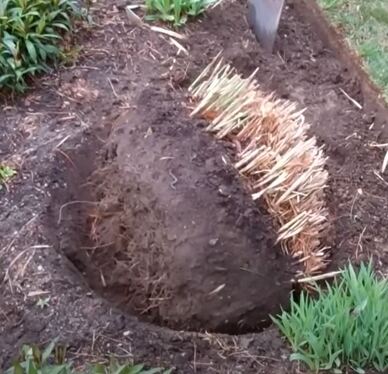
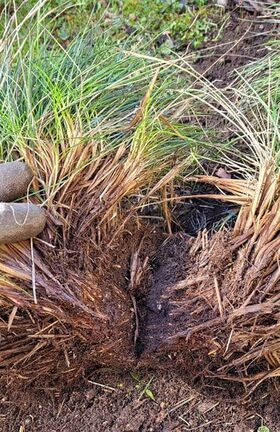
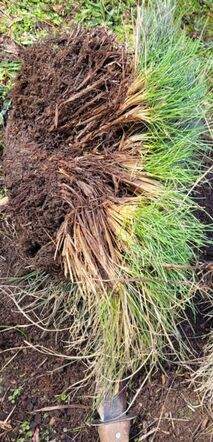
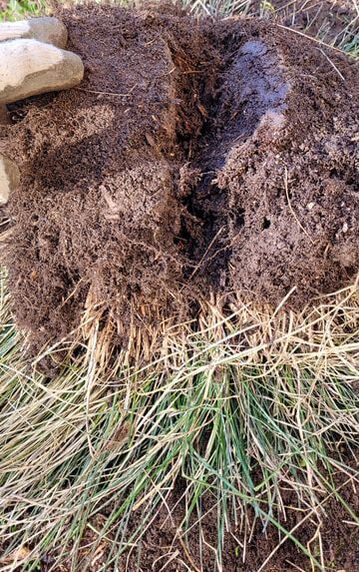
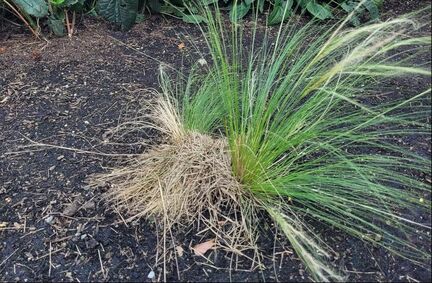
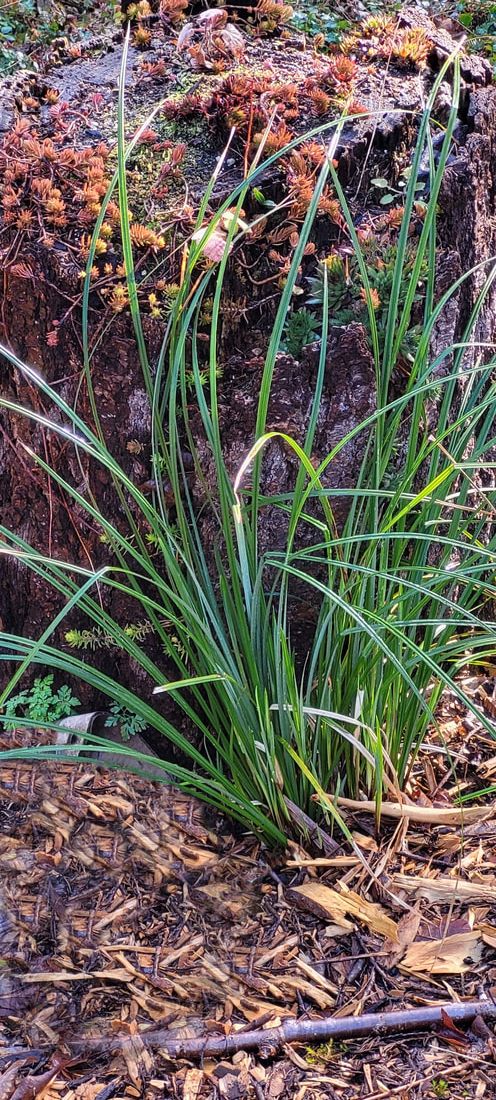
This has got to be my BIGGEST pet peeve in gardening..... And you wonder why grass plants die. 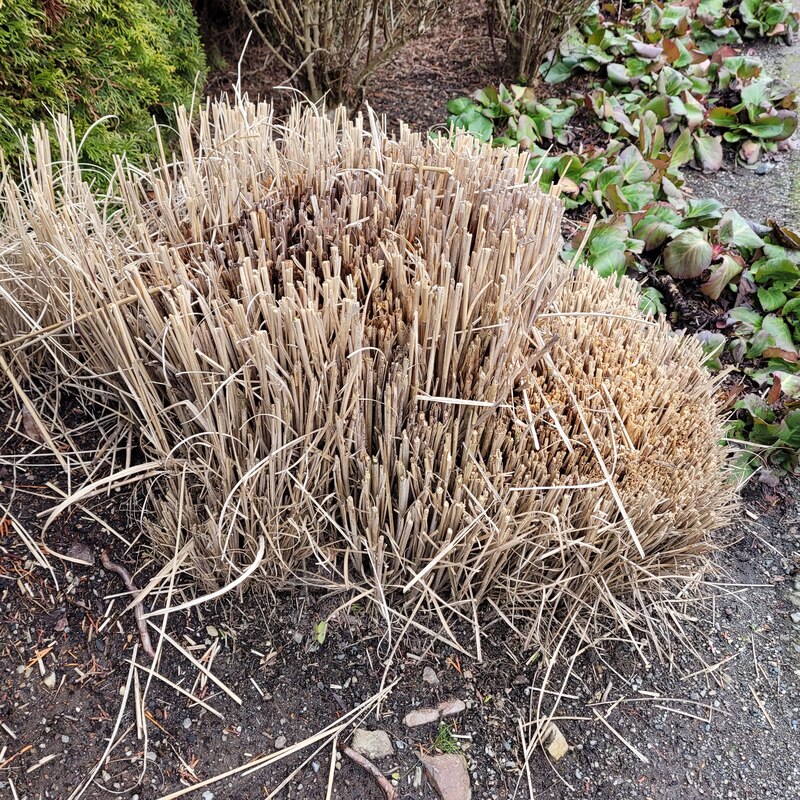 Think of grass plants like hair It grows from the roots, but people always cut it like it grows from the ends!!! UGH Many want to trim their wildly growing grasses during the "clean-up" time in the fall. You can - but not like this! If you can wait, prune in February, just before spring growth. But, if you must do it in the fall, follow these tips! I like late fall pruning of my grassy plants because it gives them time for new growth before the heavy rains come. AND, it tames the wild! August 1st - BEFORE 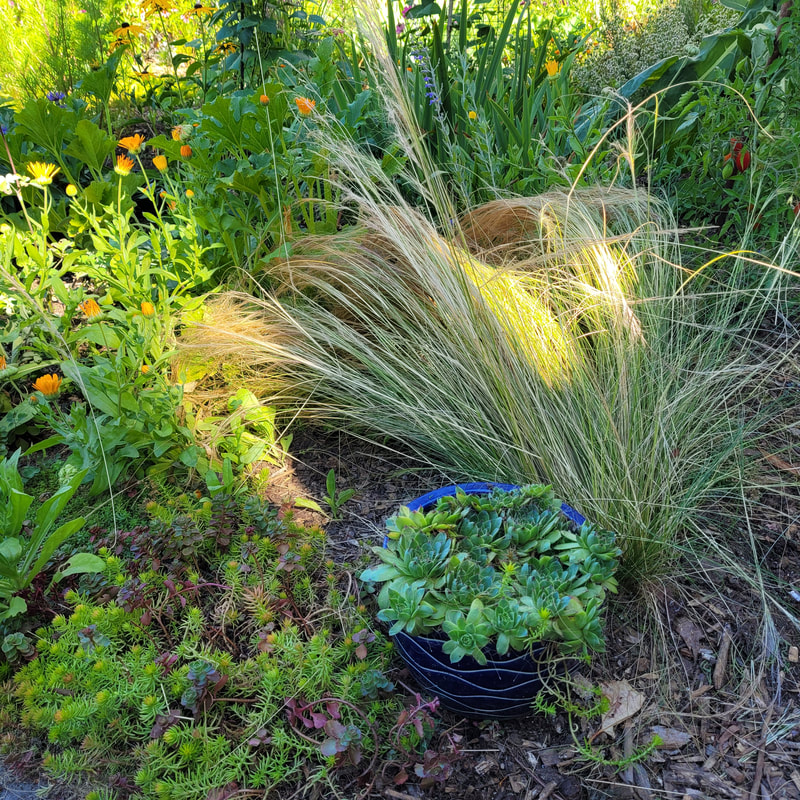 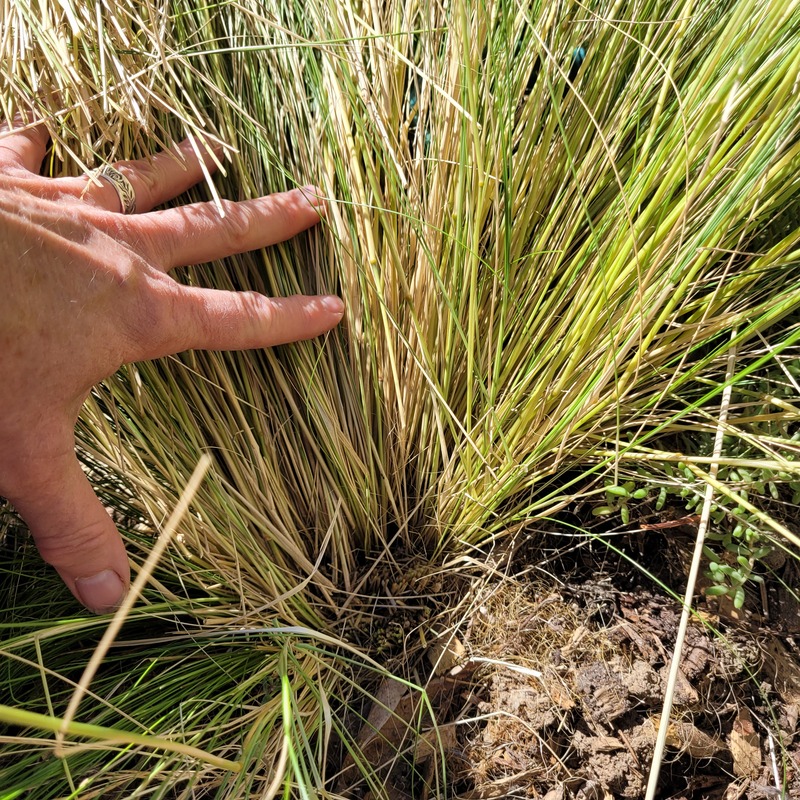 Yes, cut all the way to the ground! 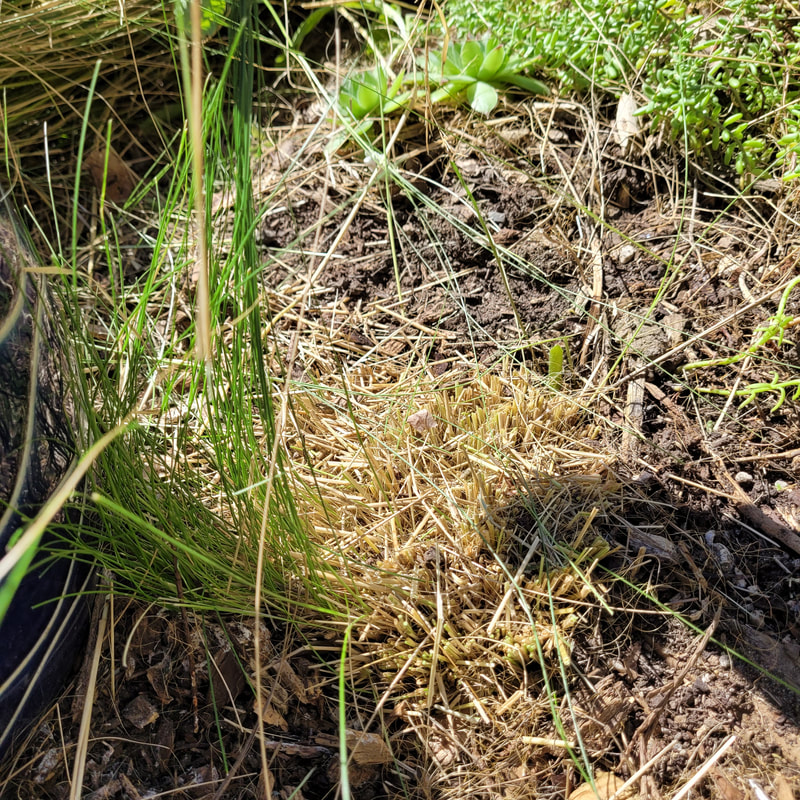 If the weather is still hot, give them some water. They will start regrowing right away! September 12th - AFTER 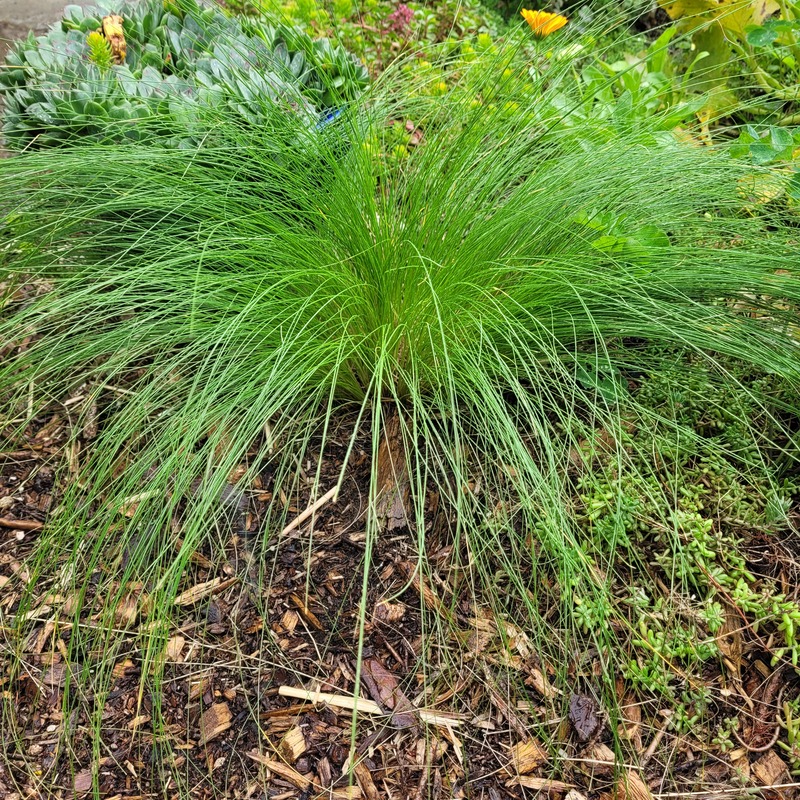 To trim during the fall "clean-up" Use: Sharp, Clean Tools!!! Thick gloves and a bungee cord or string to tie the plant up for easier cutting. 1. Use loppers first for larger cuts, then use pruners for shaping or smaller cuts. 2. Prune as close to the ground as possible. The lower to the ground, the sooner the new growth will appear. 3. To clean up smaller or evergreen grassy plants (fescue or oatgrass), Run your gloved hand through the plant, combing to remove dead leaves. Trim away dead undergrowth. Use this method for sedges as well. You can prune these plants the same as grasses, but they only need it about every 3 years. Dividing Grasses I find that when I trim & divide in the late summer or early fall, the plants have time to start regrowing before the dormancy period. Then, in the spring, it comes back at just the right size to start the growing season! If your grass plant or sedge has gotten too big, first, trim as above. Then divide it either in half or in quarters with a shovel. Just dig right into it, you won't kill it. They are hardy!!!!! Replant the sections to expand your gardens!
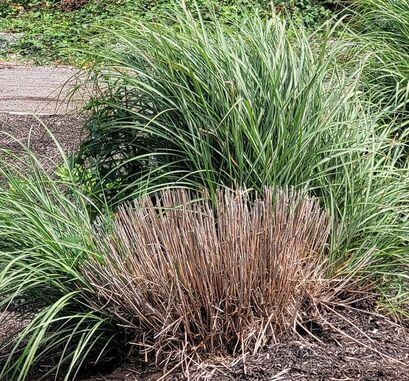
Are they Dead??
I see lots of plants that look like this! Either they are dead or they will come back unhealthy! This is beacuse the new growth that wants to come up from the root isn't getting enough light.
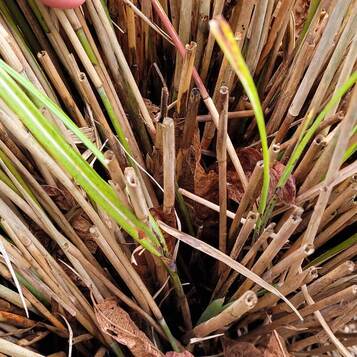
Trim in late winter
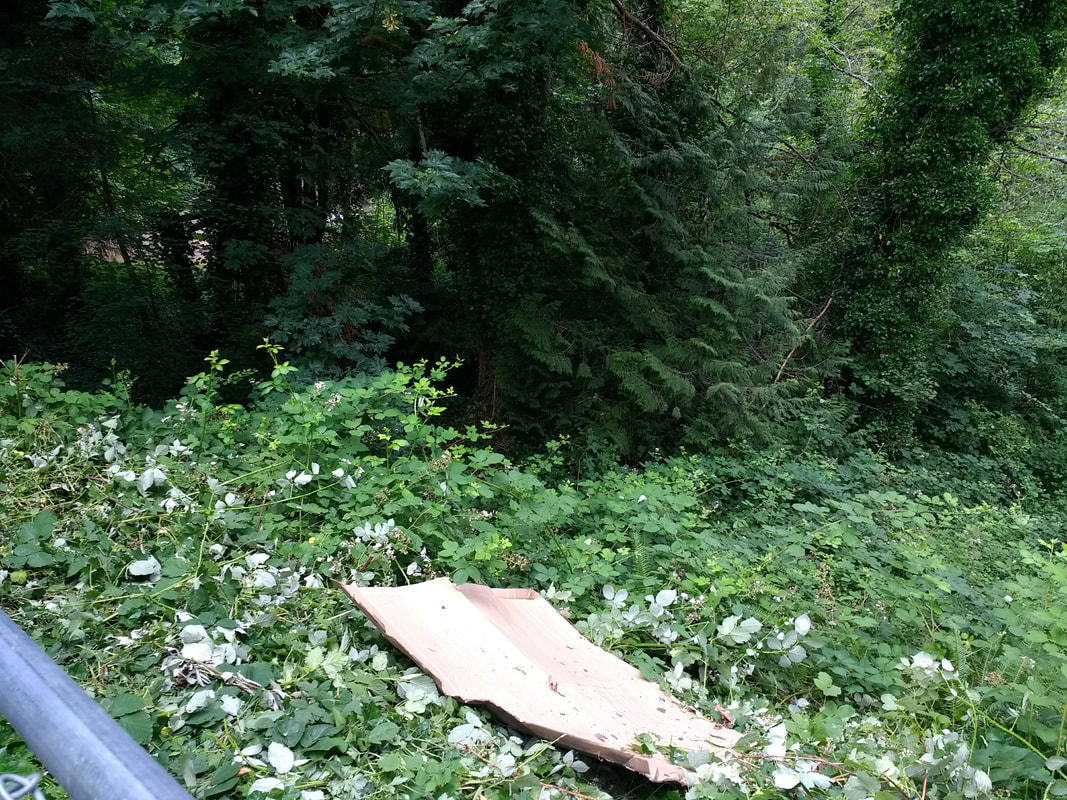
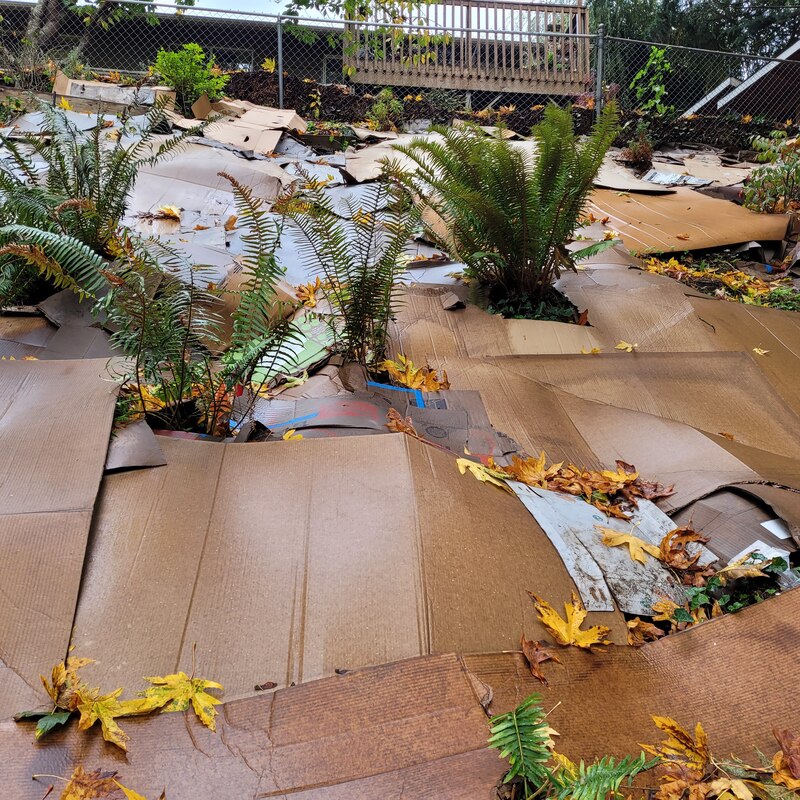
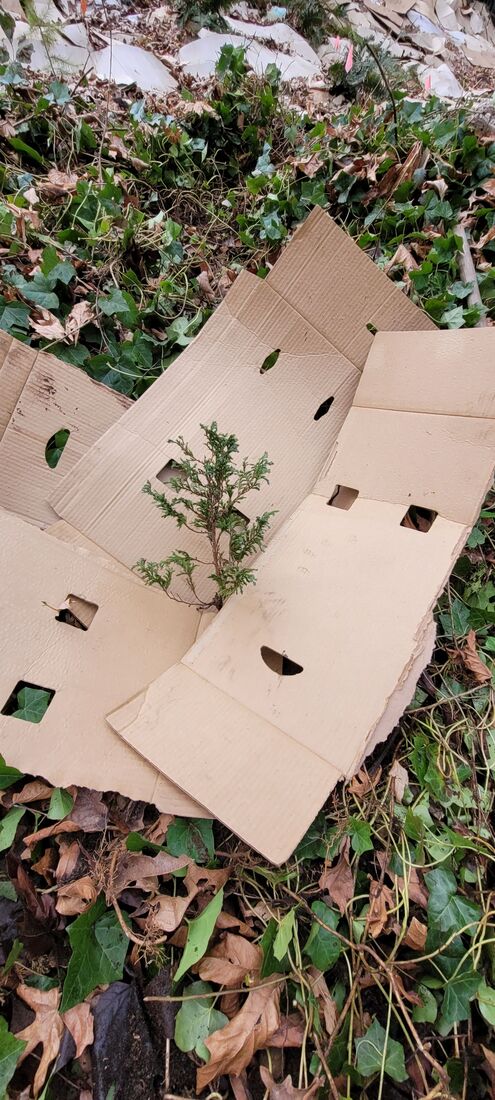
1. Cut back early enough before they start growing in the spring - before you see any green from the root. 2. Cut off as much dead growth as possible - to have a nice clean appearance during the summer. Taming the BlackberriesMy vision was to cover the "weeds" with cardboard, then add wood chips. This is what I tell people to do. I have done it a hundred times on large and small properties.

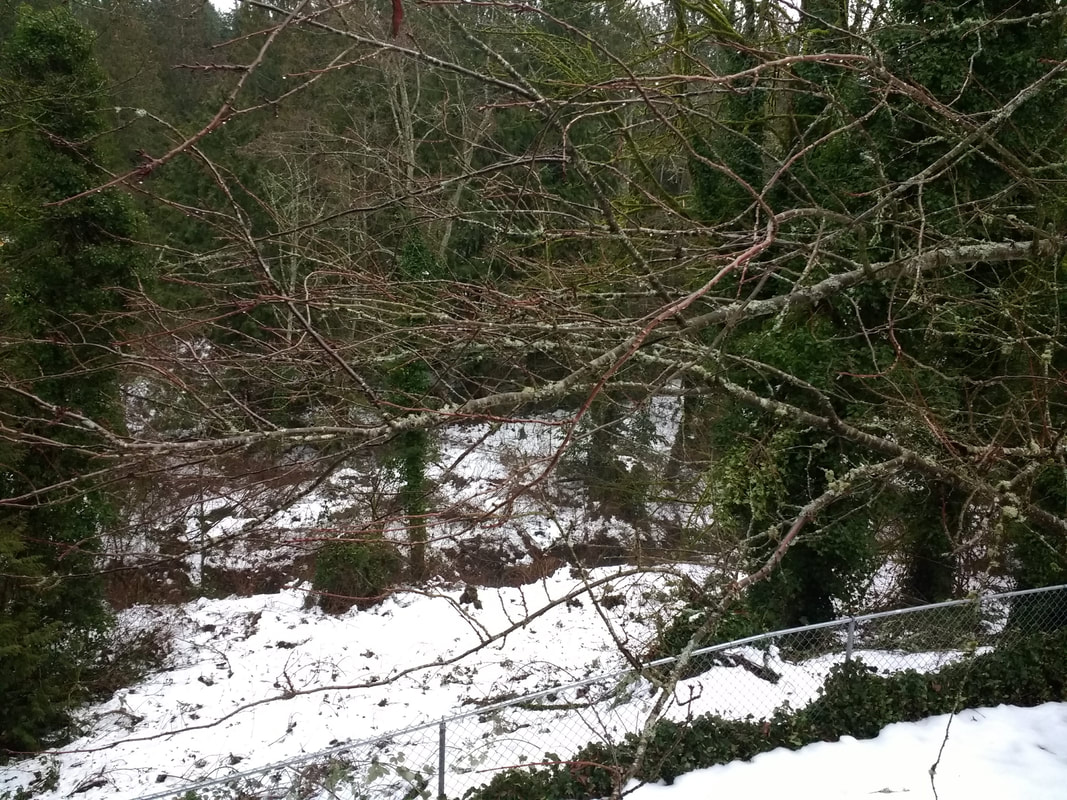
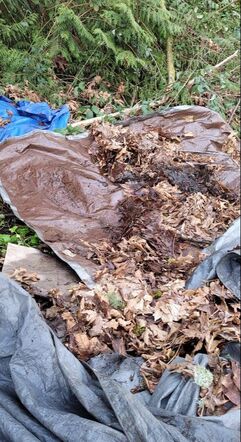
We worked hard to put in some logs for terracing and planted a few shrubs. 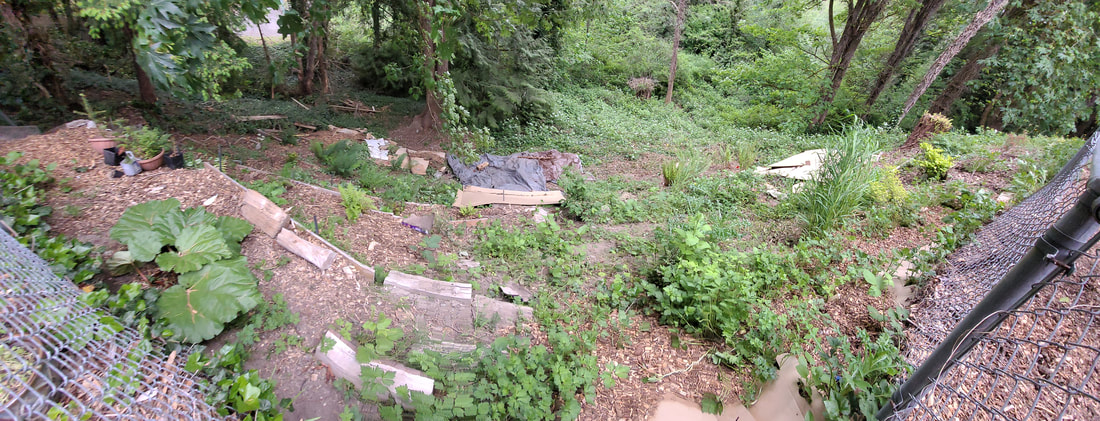 And then the rains came, And the blackberries got a BIG boost. 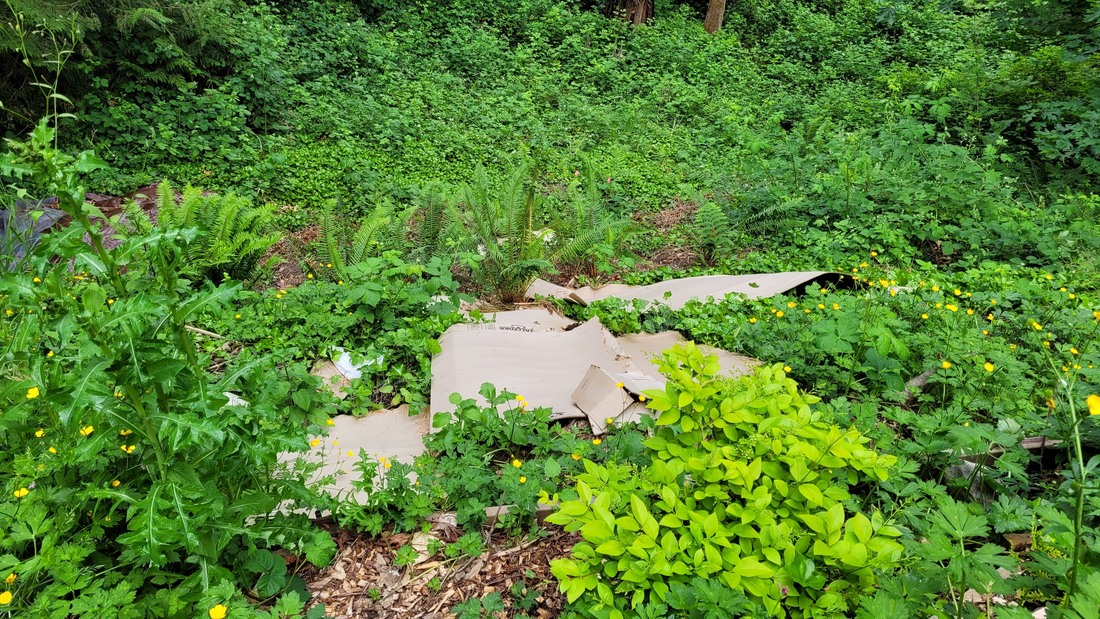 Year 3 One (popular) idea is to use a dark plastic tarp, to prevent photosynthesis which kills the weeds. SO, in the fall we put a giant tarp at the bottom of the slope and it stayed on from October until the next June. My father built greenhouses for a living, so I was skeptical of the tarp idea, (plastic with heat=greenhouse). So, I kept up with the cardboard on the top part of the slope. Then the leaves fell and the winter came. 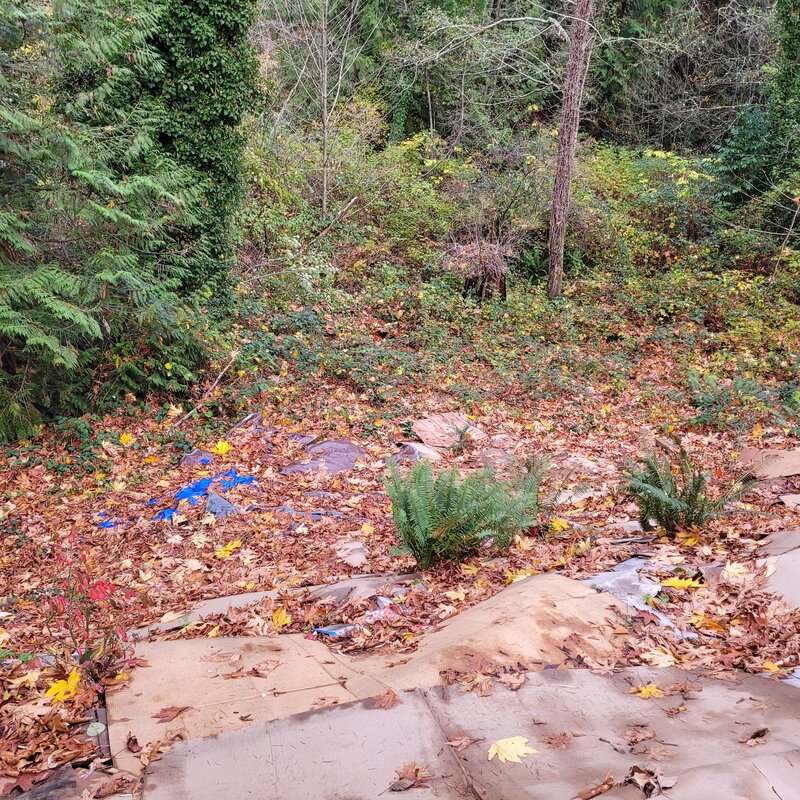 Then early in the year cardboard again, then wood chips to hold the cardboard down.
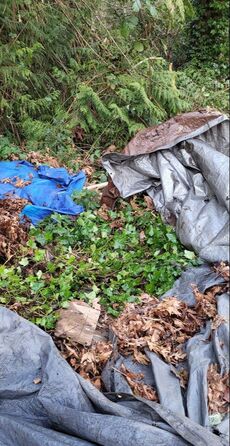
And now to check on the weed suppression tarp method!
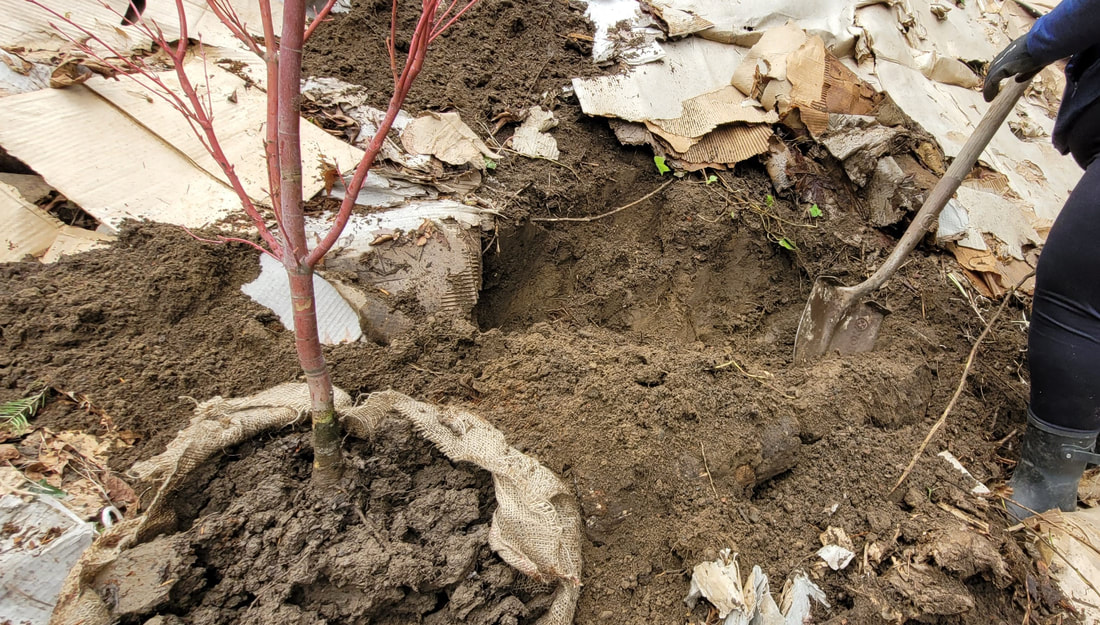
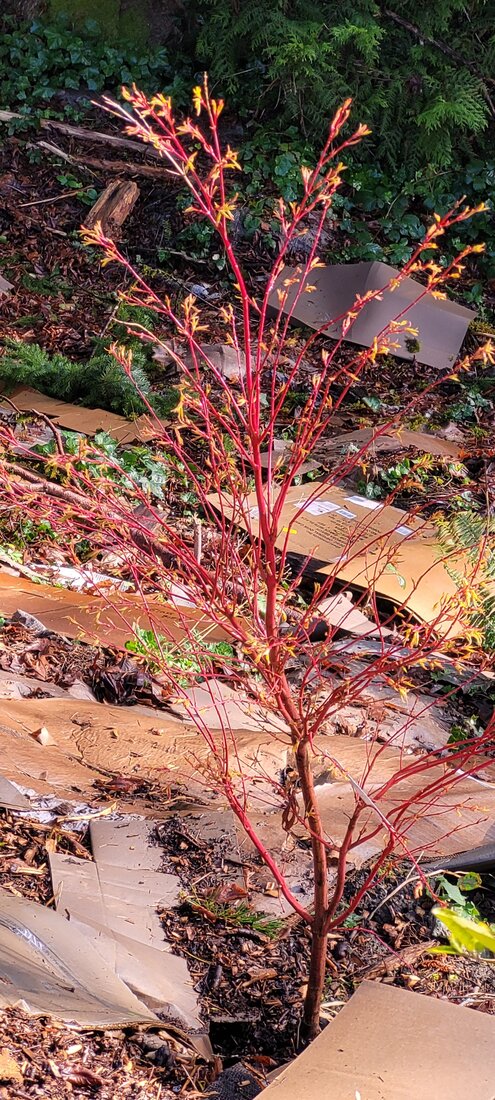
Still fighting all the invasives, but we are also implementing more trees & shrubs. Progress! Year 4 Every year we start in the early spring with more cardboard - a truckload of it!! Otherwise, all the work from the previous seasons gets nullified, and all the plants & shrubs will get overtaken. LOOK how it's thriving in year 4!!
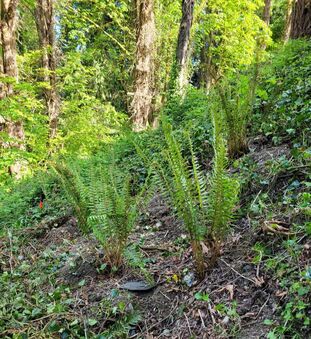
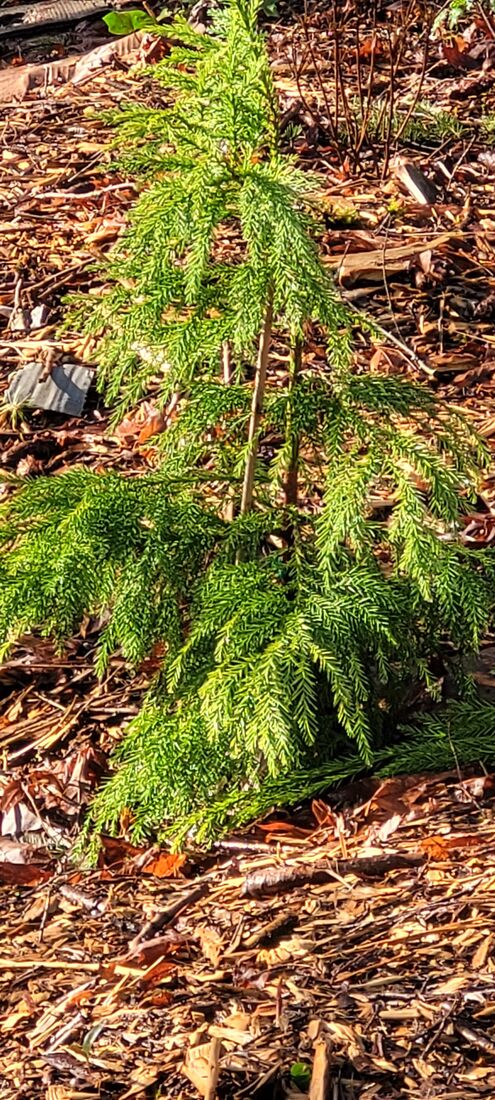
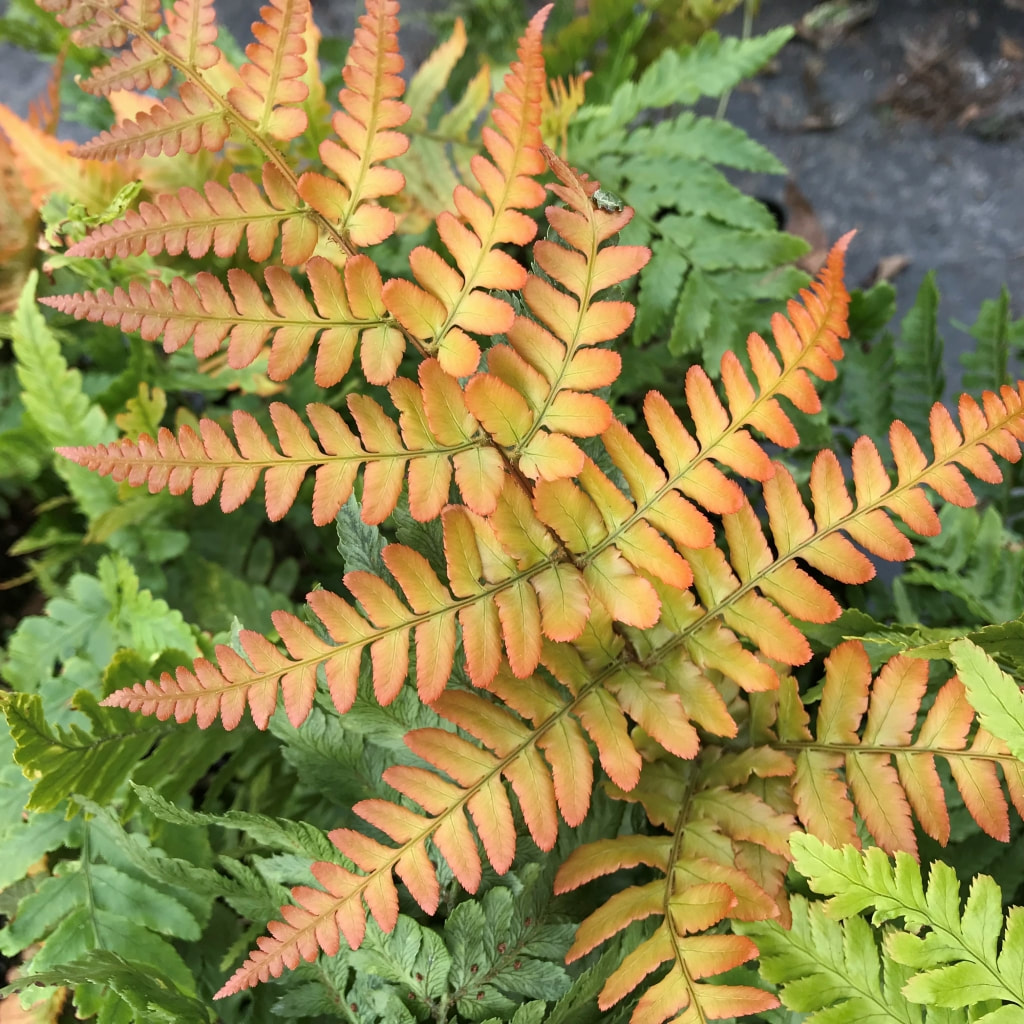
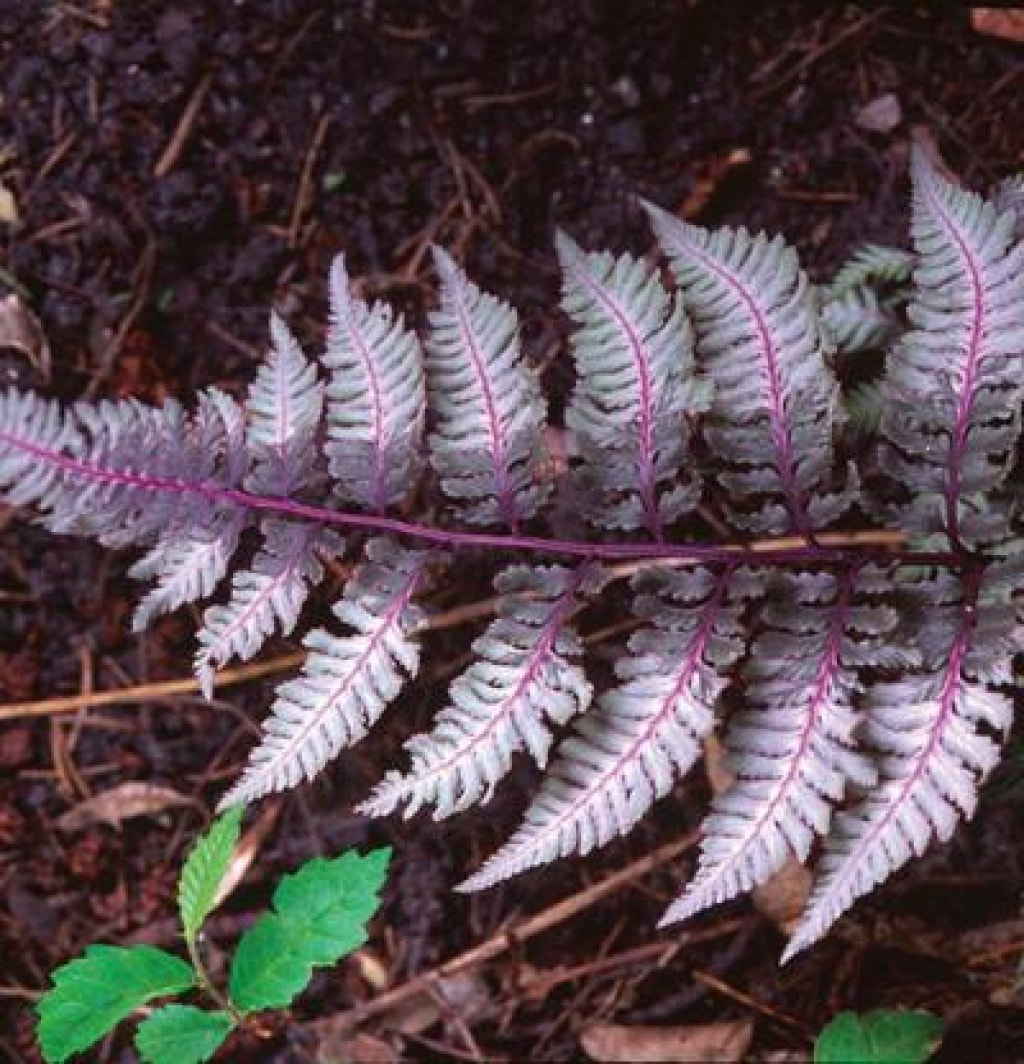
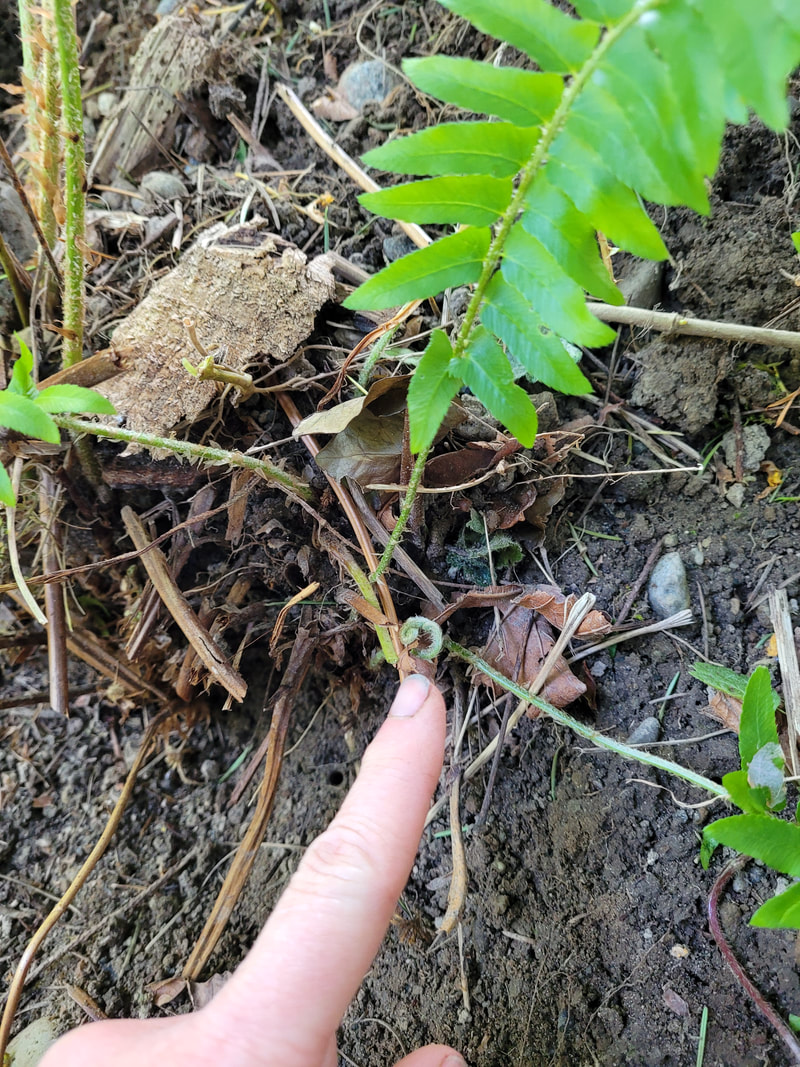
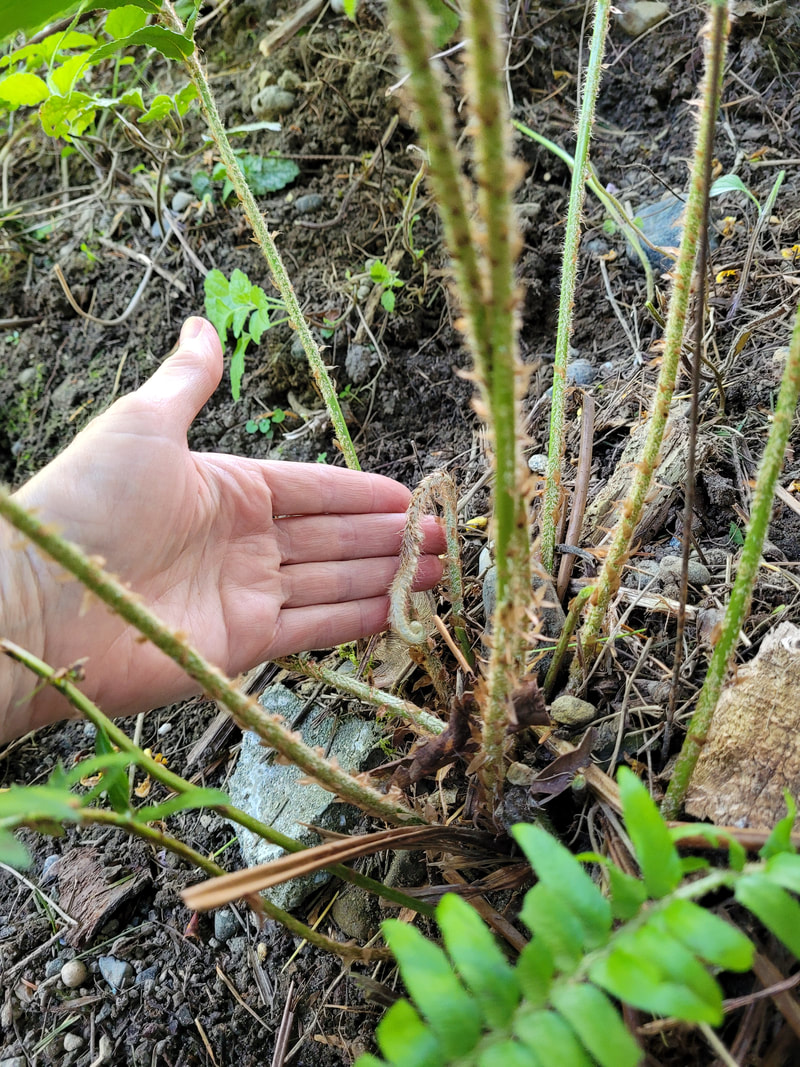
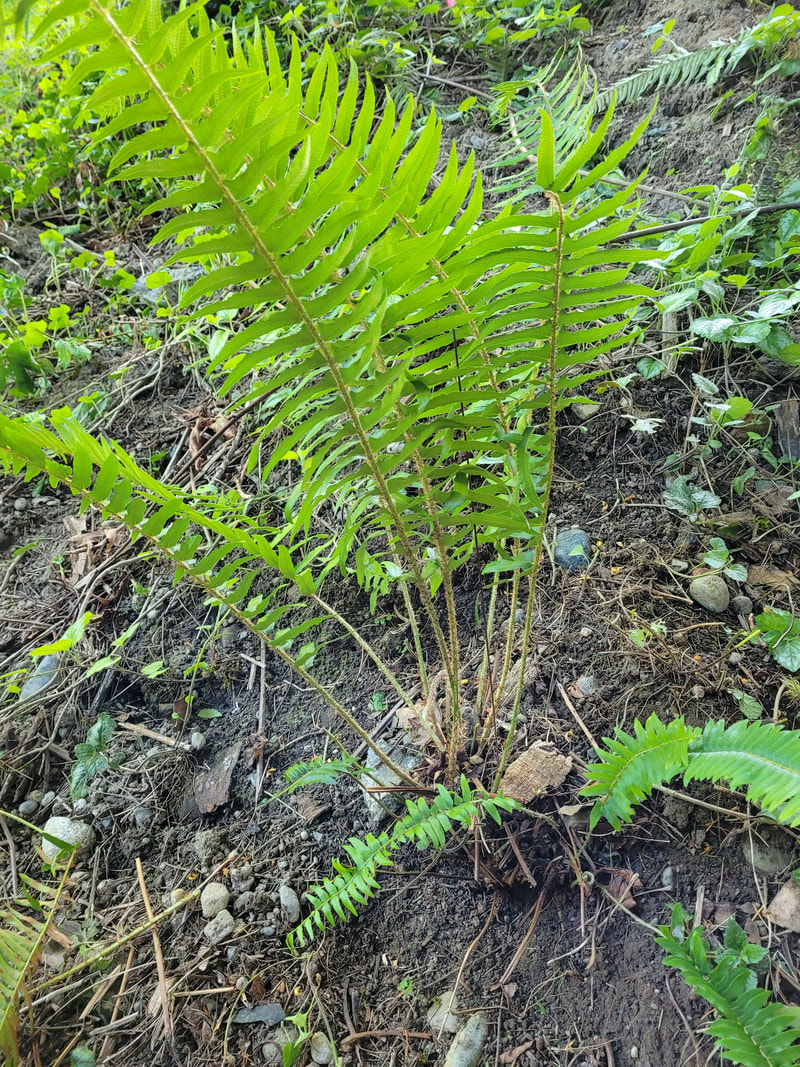
I really love to use ferns in the landscape! They're versatile, abundant, inexpensive, and quite beautiful with their spikes of bright green, grayish-purple and orange. They can grow BIG or small, as with all plants, depending on how much they like their environment! These are a few of my favs! And here's a few pruning tips! 1. Healthy patch of our native Sword Fern. It's clearly 'picture perfect' and all the dead fronds have been clipped away.
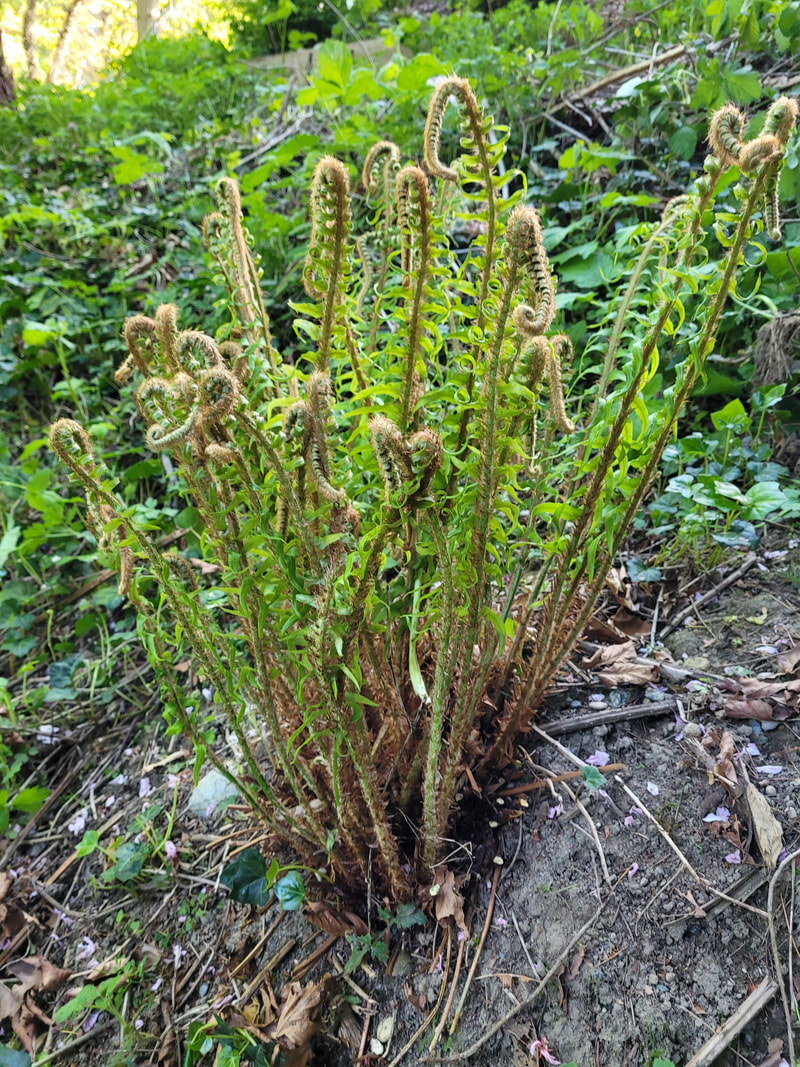
2. Here's how mine look in the spring! 3. First, I look deep inside to the middle of the plant to see if the new fiddleheads are emerging, and I'm careful not to cut them off when I prune. 4. Then, I pull back all the OLD fronds even if they are still a little green AND I cut them off all the way to the center. Yes, all of them! 5. This allows light for all the emerging fiddleheads to unfurl! 6. It is such a lovely sight to see the tiny little pruned fern transform into a bright green lush plant in the early spring! DO Experiment with different ferns in your landscape! Some are more sun-tolerant than others, but a good filler plant nonetheless!! **As always, if you want guidance, Please contact me** |